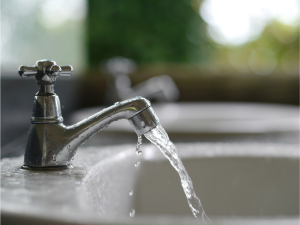
Every time your sink drains, the drain trap or sink trap will hold a little bit of that water. This retained water serves an important purpose for your plumbing system. As the water sits at the bottom of a curved portion of the pipe (aka the sink trap), it helps to prevent sewer gases from entering your home through the drain.
Because this pipe is curved, more items than just water can get stuck inside it, which can cause clogs. It’s important that you know how to remove the sink trap so that you can clean it out.
In this article, we will address how to do that. We begin by describing what a sink trap is and then delve into how to remove one. After that, we will discuss sink trap cleanout and reinstallation so that you can ensure your drains will be as good as new.
What’s a Sink Trap?
The purpose of the sink trap is to prevent sewer gases from coming into your home through the drains attached to your sinks. In other words, your home will quickly smell foul if a sink trap is not installed on your various drains.
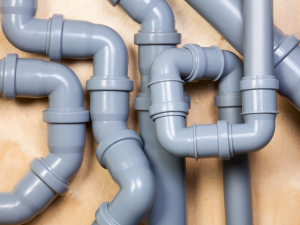
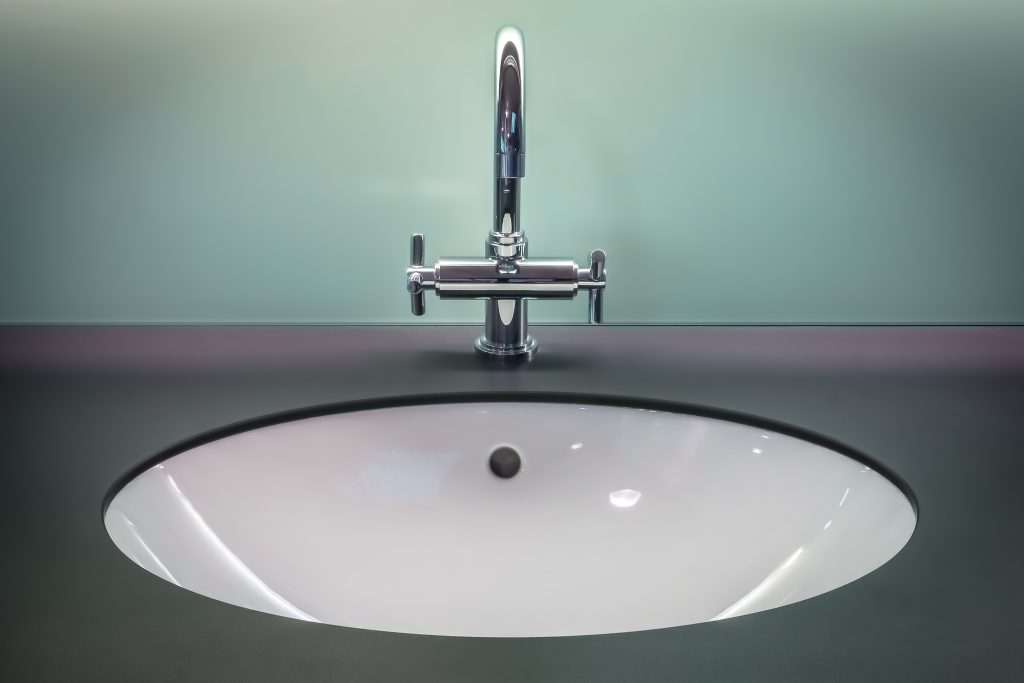
Spotting a sink trap is pretty easy. Just look underneath your kitchen and bathroom sink. The drain will have a U- or S-shaped pipe that is curved down from the opening of the drain. This U- or S-shaped piece is the drain trap.
This sink trap is able to trap gases because its curved shape allows water to sit in the bottommost portion of the drain. This water keeps the gases on one side of the drain so that the rest of the drain and home is free from the gaseous smells.
Signs You Need to Clean Sink Trap
If your sink trap is clean, you shouldn’t have to think about it. Instead, you should be able to use the sink without worrying about any gaseous odors.
However, your sink trap likely needs a good cleaning if you experience any one of the following signs:
- Standing water
- Low drainage
- Unexplained foul odors
- Clogs
- Gurgling noises
- Water backups
- Fruit flies
- Overflowing toilets
Any one of these signs can point to a clogged sink trap. You’ll need to remove and clean the sink trap in order to rectify the problem.
How to Remove Sink Trap
Before you can clean out the sink trap, you first need to remove it. Removing the sink trap can seem like the hardest part of the process, but it is simple if you know what you’re doing.
What You’ll Need
- Rubber gloves
- Goggles
- Large bucket
- Tape
- Wrench or pliers
- Scraper
Steps for Removing Sink Trap
- Put on rubber gloves and goggles as protection from loose debris and chemicals that may be inside the drain.
- Place a bucket underneath the trap to gather any loose debris or excess water that falls out during removal.
- Place tape around the jaws of your wrench or pliers. This will help to protect the nuts whenever you unscrew them.
- Unscrew the nuts around the sink trap using the taped wrench or pliers.
- Scrape off the gunk that is stuck to your sink trap.
How to Clean Sink Trap
After you remove the sink trap, you will want to clean it out thoroughly. Cleaning the sink trap is a lot easier once it has been removed. Below is a list of everything you need in order to clean it out, as well as steps for cleaning sink traps.
What You’ll Need
- Replacement parts (only if needed)
- Trash bag
- Large bucket
- Bottle brush
- Baking soda
- Hot water
Steps for How to Clean Sink Trap
- After you remove the sink trap, allow any excess debris or water to spill into your large bucket or trash bag.
- Hold the sink trap over a large bucket, trash bag, or a completely different sink. This will help to catch any extra water or baking soda that falls during the cleaning process.
- Add baking soda to the inside of the drain, as well as any dirty parts on the outside.
- Gently scrub the inside of the drain using a bottle brush.
- Check to see if any interior parts are cracked or broken. If so, replace them.
- Flush out the excess baking soda with hot water.
How to Reinstall Sink Trap
Now that you have successfully removed and cleaned your sink trap, you need to reinstall it. For the most part, you will be repeating the steps from the removal phase, but in the opposite order.
What You’ll Need
- Large bucket
- Taped wrench or pliers
- Replacement parts (only if needed)
Step for Reinstalling Sink Trap
- Place the sink trap back in position.
- Use your taped wrench or pliers to tighten the nuts back into place. If these nuts were broken, use new ones.
- Do not over-tighten the nuts because they will crack. A half a turn is typically enough.
- Test out your work.
- Wipe up any water or materials that spilled on the ground during the removal, cleaning, or installation processes.
Congratulations! You have now successfully removed, cleaned, and reinstalled your sink trap. Hopefully, your sink drain will be working as it should.
Need Help?
If you go through the steps above and you are still experiencing the signs related to a clogged sink trap, there may be something more seriously wrong with your drainage system. In that case, you should contact a plumbing professional to inspect your pipes and diagnose the problem.
At Clover Contracting, we can help you determine why your drains and sink traps aren’t working as they should. You can call today to set up an appointment with one of our experienced plumbers.
Otherwise, we hope that this article helps you learn how to clean sink traps. To prevent your sink trap from getting clogged again, be cautious about the types of materials you are putting down the drain.
Related Posts